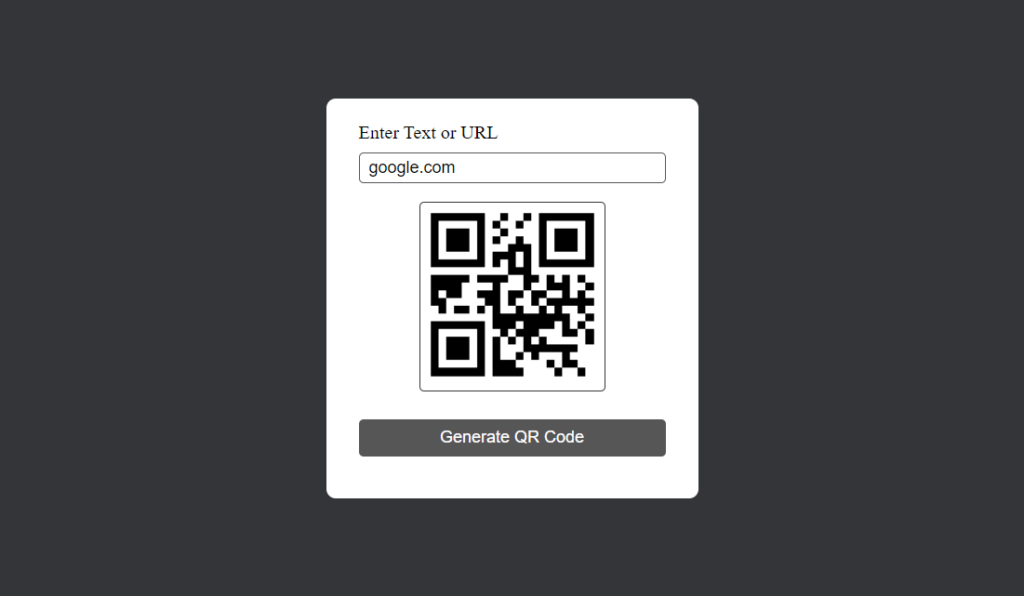
CREATE A QR GENERATOR WITH JAVASCRIPT
Learn how to create a QR Generator with JavaScript?
Source code of HTML file
<!DOCTYPE html>
<html lang="en">
<head>
    <meta charset="UTF-8">
    <meta name="viewport" content="width=device-width, initial-scale=1.0">
    <title>QR Code Generator</title>
    <link rel="stylesheet" href="Style.css">
    <script src="qr.js" defer></script>
</head>
<body>
    <div class="container">
        <div class="box">
            <label >Enter Text or URL</label>
            <input type="text" placeholder="Enter Text or URL" id="qrText">
            <div id="imgBox">
                <img src="" id="qrImg">
            </div>
            <button onclick="generateQR()">Generate QR Code</button>
        </div>
    </div>
</body>
</html>
Explanation.
Structure (HTML):
Similar to the calculator example, it defines the basic structure of an HTML document.
The title is set to “QR Code Generator”.
The body section contains the main content.
Inside the body, a div with a class container holds another div with a class box. This creates a container for the QR generator layout.
Within the box div:
A label element prompts the user to “Enter Text or URL”.
An input field of type text with placeholder text “Enter Text or URL” is provided for user input. This input field has an ID of qrText.
A div with the ID imgBox will likely hold the generated QR code image.
Inside imgBox, an img element with the ID qrImg displays the QR code image. The src attribute is currently empty.
A button element with the text “Generate QR Code” is used to cause the QR code generation method when clicked. It calls the generateQR() function defined in the Javascript file.
Functionality (Javascript – qr.js assumed):
The generateQR() function (defined in the external Javascript file qr.js) is likely responsible for:
Taking the value entered in the qrText input field.
Using a QR code generation library to create a QR code image based on the provided text/URL.
It was updating the src attribute of the qrImg element with the data URL of the generated QR code image. This allows the image to be displayed in the imgBox div.
Source code of CSS file.
*
{
    margin: 0;
    padding: 0;
    box-sizing: border-box;
}
.container
{
    width: 100%;
    height: 100vh;
    background: #333538;
}
.box
{
    width: 400px;
    padding: 25px 35px;
    background: #ffffff;
    border-radius: 10px;
    position: absolute;
    top: 50%;
    left: 50%;
    transform: translate(-50% ,-50%);
    display: flex;
    flex-direction: column;
}
.box label
{
    font-size: 20px;
    font-weight: 500;
    margin-bottom: 10px;
}
.box input
{
    font-size: 18px;
    padding: 5px 0px 5px 10px;
    outline: 0;
    border: 1px solid #565656;
    margin-bottom: 10px;
    border-radius: 5px;
}
.box button
{
    height: 40px;
    font-size: 18px;
    color: #ffffff;
    background:  #565656;
    border-radius: 5px;
    border: 0;
    margin: 20px 0px;
    cursor: pointer;
}
#imgBox
{
    width: 200px;
    border-radius: 5px;
    max-height: 0;
    overflow: hidden;
    transition: max-height 0.5s;
}
#imgBox img
{
    width: 100%;
    padding: 10px;
}
#imgBox.show-img
{
    max-height: 300px;
    margin: 10px auto;
    border: 1px solid #333538;
}
.error
{
    animation: shake 0.1s linear 10 ;
}
@keyframes shake
{
    0%
    {
        transform: translateX(0);
    }
    25%
    {
        transform: translateX(-3px);
    }
    50%
    {
        transform: translateX(0);
    }
    75%
    {
        transform: translateX(3px);
    }
    100%
    {
        transform: translateX(0);
    }

}
Explanation.
Global styles:
same as the Calculator example.
QR Code Generator box styles:
.box class objectives the detail representing the QR code generator box.
width: 400px; – units the width of the field to 400px.
padding: 25px 35px; – provides padding around the content material within the box 25px from top and bottom , 35px from right and left .
position: absolute; top: 50%; left: 50%; transform: translate(-50%, -50%); – Positions the box simply inside the center of the screen.
Label styles:
.container label objectives all label elements in the .box element.
font-size: 20px; font-weight: 500; – units the font size and weight for the labels.
margin-bottom: 10px; – provides margin beneath the labels.
Input patterns:
.container input objectives all input elements (textual content discipline) in the .container element.
outline: 0; border: 1px solid #565656; – eliminates default define and provides a solid border of 1px with a grey shade.
margin-bottom: 10px; border-radius: 5px; – adds margin beneath the enter subject and rounds the corners.
Button styles:
.container button targets all button elements in the .container element.
height: 40px;- sets the height to 40px for the buttons.
border: 0; – border 0 is used to get rid of the border.
margin: 20px 0px; cursor: pointer; – provides margin under the button and units the cursor to a pointer icon on hover.
Image Box Styles:
#imgBox targets the element with the ID imgBox (likely representing the container for the QR code image).
width: 200px; bo
rder-radius: 5px; – Sets the width and rounded corners for the image box.
max-height: 0; overflow: hidden; transition: max-height 0.5s; – initially hides the photo field using placing max-height to zero and makes use of overflow hidden to clip any content. It also defines a smooth transition for the max-height property.
Image Styles:
#imgBox img targets all image elements (img) within the element with ID imgBox.
width: 100%; padding: 10px; – Sets the image to fill the width of the container and adds padding.
Image Box Show Style:
#imgBox.show-img targets the element with ID imgBox when it also has the class show-img (likely applied dynamically when an image is generated).
Error Class:
.error class targets any element with the class error. This class is likely used for handling potential errors during QR code generation.
animation: shake 0.1s linear 10;- Applies an animation named shake to the element with a duration of 0.1 seconds, linear timing function, and repeats 10 times (potentially creating a shaking effect).
Shake Animation:
@keyframes shake defines an animation named shake. This animation applies a horizontal shaking effect to the targeted element.
Inside the animation definition:
0% – At the beginning (0% of the animation duration), the element is not transformed (no shaking).
25%, 75% – At 25% and 75% of the animation duration, the element is translated 3 pixels to the left (translateX(-3px)) creating a slight shake to the left.
50%, 100% – At 50% and 100% of the animation duration, the element is translated back to its original position (translateX(0)) creating a centered position between the shakes.
Source Code of JavaScript file.
let imgBox=document.getElementById("imgBox");
let qrImg=document.getElementById("qrImg");
let qrText=document.getElementById("qrText");
function generateQR()
{
    if(qrText.value.length >0)
    {
        qrImg.src="https://api.qrserver.com/v1/create-qr-code/?size=150x150&data=" + qrText.value;
        imgBox.classList.add("show-img");
    }
    else
    {
        qrText.classList.add("error");
        setTimeout(()=>
        {
            qrText.classList.remove("error");
        },1000);
    }
}
Explanation
Variable Assignments:
let imgBox = document.getElementById(“imgBox”); – This line selects the detail with the id “imgBox” from the HTML document and stores it inside the variable imgBox. This probably references the box detail for the QR code image.
let qrImg = document.getElementById(“qrImg”); – just like the preceding line, this selects the detail with the id “qrImg” (probably the photo element itself) and stores it within the qrImg variable.
let qrText = document.getElementById(“qrText”); – This selects the element with the identity “qrText” (probably the input discipline in which the user enters textual content/URL) and shops it inside the qrText variable.
generateQR function:
function generateQR() – This defines a characteristic named generateQR that’s in all likelihood triggered when the person clicks the “Generate QR Code” button.
input Validation:
if (qrText.value.length > 0) { … } else { … } – This tests if the period of the textual content entered inside the qrText area is greater than 0 (that means there’s some input).
If there is input (**if the condition is true):
qrImg.src = “https://api.qrserver.com/v1/create-qr-code/?size=150×150&data=” + qrText.value; – This line constructs the URL for the QR code photo generation provider. It uses the “[invalid URL removed]” API endpoint with parameters for size (150×150) and data (the user-entered text/URL retrieved from qrText.value). The src attribute of the qrImg element is then updated with this constructed URL, essentially loading the QR code image specific to the user input.
imgBox.classList.add(“show-img”); – This line adds the class “show-img” to the imgBox element. Referring back to the CSS explanation, this likely triggers the smooth reveal animation for the QR code image container.
If there is no input (**else condition is true):
qrText.classList.add(“error”); – This line adds the class “error” to the qrText element (likely the input field). This might change the style of the input field to indicate an error (refer back to the CSS explanation for the .error class).
setTimeout(() => { qrText.classList.remove(“error”); }, 1000); – This makes use of the setTimeout function to schedule the elimination of the “errors” elegance from the qrText element after a delay of 1 second (1000 milliseconds). This creates a temporary visual indication of an error for the user.
Thanks for reading this blog.